How to Assemble a Dog Crate: A Step-by-Step Guide
Until your pup becomes of age or starts following his training, having him loose around the house isn’t the best idea.
Fortunately, dog crates provide your dog with a safe and comfortable sanctuary that he can stay in when you’re not around to supervise his actions.
Plus, doggy crates can be a big help when you’re traveling. We’ve talked enough already about the importance of selecting the right size and type of crate, but what’s equally important is learning how to assemble them.
So, with that said, let us teach you how to assemble a dog crate.
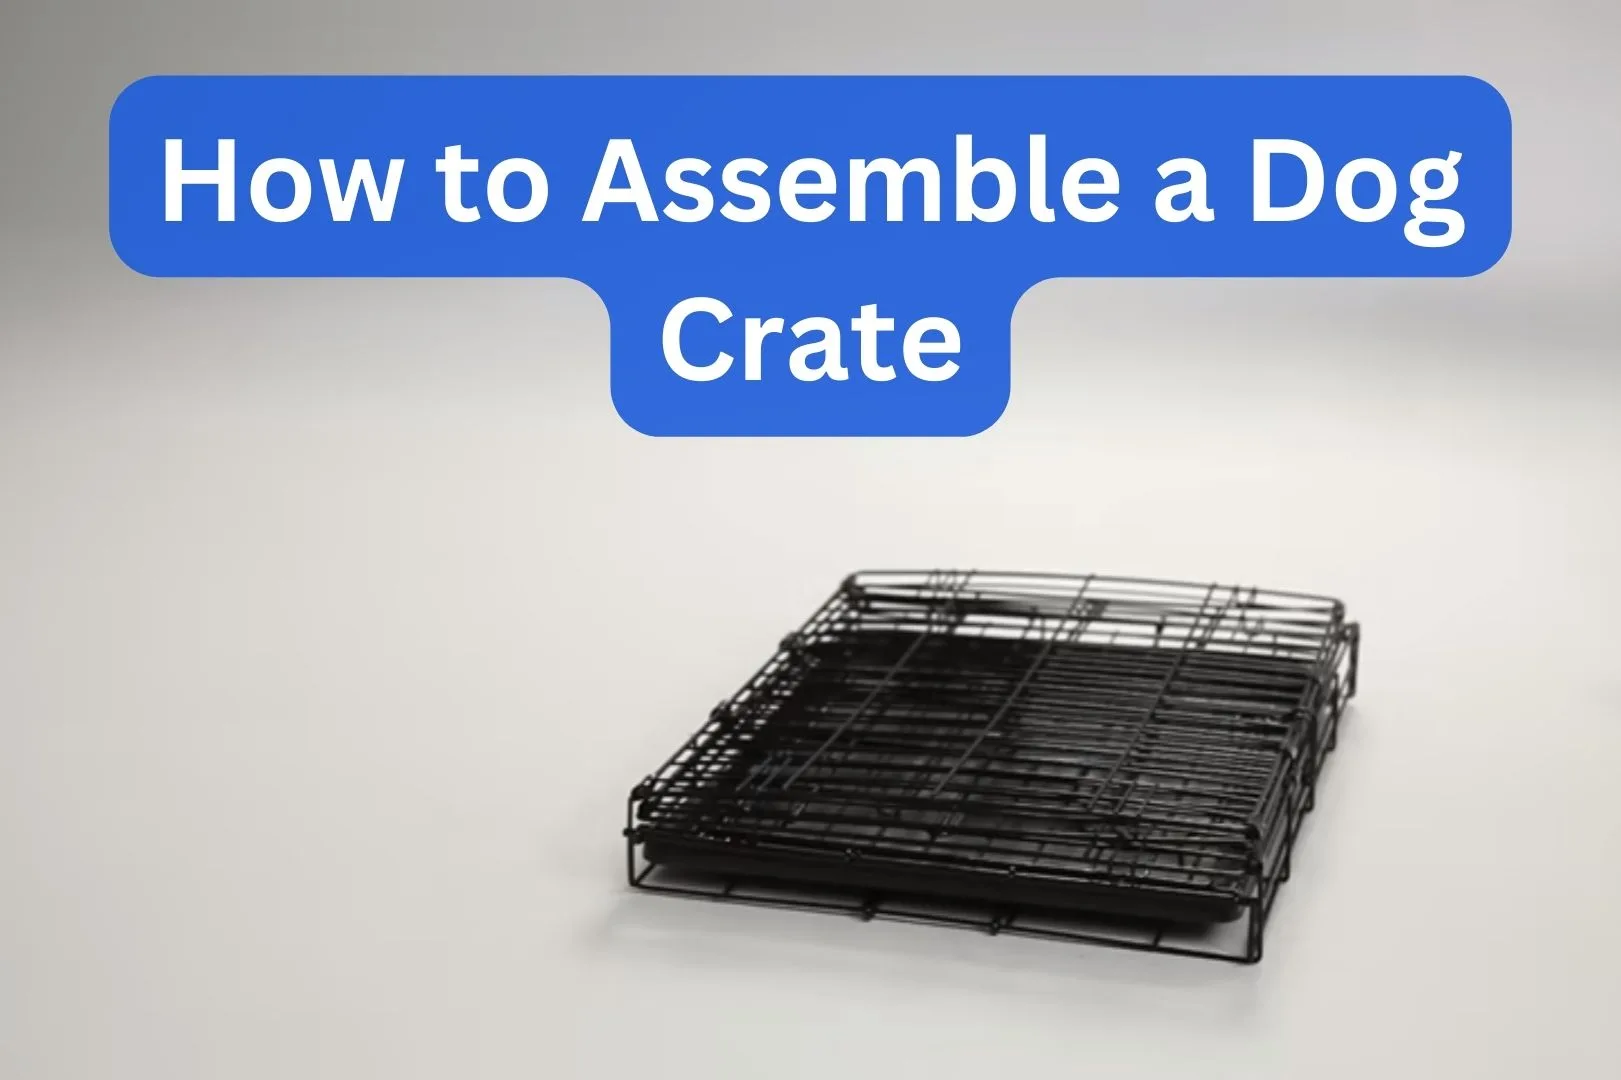
The general way of assembling a dog crate is by connecting each individual panel to the floor of the crate through hooks and clips. Once connected, picking each panel up into a vertical standing position will give you a fully assembled doggy crate.
We will go into more detail about the entire process in the guide below. So, if you’re truly interested, make sure you check it out.
Table of Contents
How to Assemble a Dog Crate (The Wire and Metal Kind)
Dog owners generally prefer wire and metal crates due to their durability and because the openings between the wiring allow dogs to view their surroundings comfortably.
Also, they’re notoriously easy to disassemble and fold, making them a traveling man’s dream.
The guide below offers clear and simple dog crate assembly instructions specifically made for assembling metallic wire crates.
We also recommend watching this video of the assembly after you’ve read the guide all the way through.
Step 1: Protecting Your Space
We shouldn’t have to tell you that a crate made of metal will scratch your floor if proper precautions aren’t taken.
So, make sure you set down a towel or protective cloth on your assembly area before you bring out the crate’s parts.
Also, try assembling the crate in the area where you will be crating the dog. It’ll save you from having to move it afterward.
Step 2: Collect and Arrange All the Required Parts
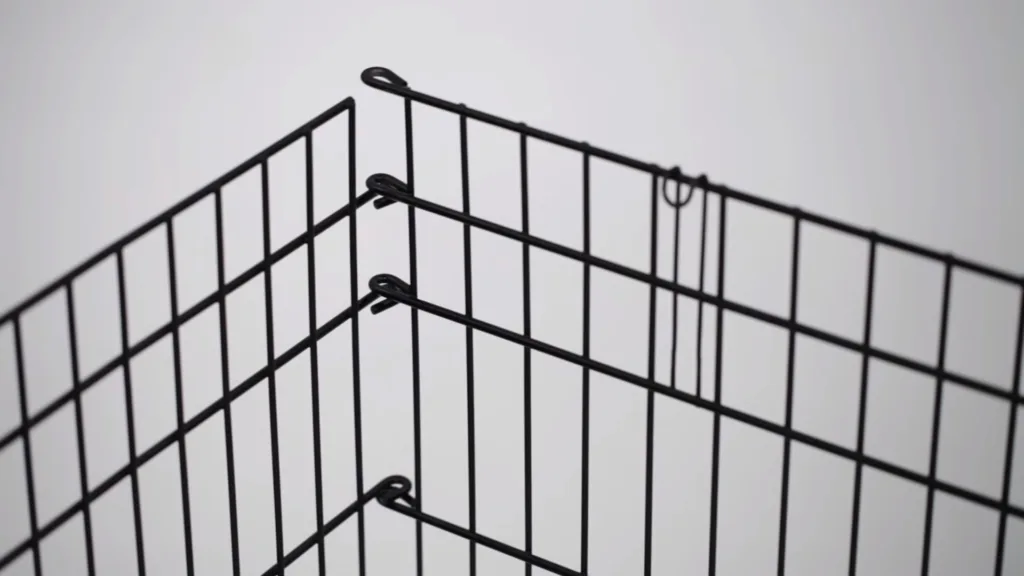
Take each panel of the crate out of the box. Once you’ve removed all of the panels from the box, it’s time to count how many you have. A typical dog crate consists of 5 panels and a dog pan.
These include two side panels, a front door panel, a back panel, and a floor panel. Look for hooks on each panel to make sure there are no manufacturing issues.
Some crates also come with corner rods to connect and fasten the corner loops of the cage. So, make sure you take these out as well.
Step 3: Setup the Floor Panel
Place the floor panel flat on the towel or cloth you’ve put down. The floor pan should be inside the panel as well.
Look for the pan-locking latch on one of the ends of the panel. Once you’ve found it, you have to lift it to remove the pan from inside.
The pan locking latch will also help with orientation, as it should always face towards the front. The latch will then become your point of reference during the assembly.
Lastly, ensure all the hooks in the panel are pointing upwards to make sure they attach correctly to the side panels.
Step 4: Adjust the Side Panel Next to the Floor Panel
Find one of the side panels and place it next to the floor panel. You can place it either to the right or left of the panel.
Make sure the panel’s loops, which will fit into the hooks, are facing upwards towards the roof.
Alternatively, you could also look for horizontal wires that are spaced closer together, as these should be placed nearest to the floor panel.
It’s now time to lift the side panel and adjust it on top of the floor panel so that the hooks click into the second or third horizontal wire and within the first two vertical wires.
Step 5: Lift and Secure the Side Panel
With the hooks secured correctly, lift the side panel to an upright position while ensuring that the hooks lock into place.
Keep lifting until the panel is completely vertical and the clips on the floor panel have latched onto the second or third horizontal wire on the side panel.
Follow the wire dog crate assembly instructions detailed in the above two steps to secure the other side panel as well.
Step 6: Attach the Back Panel
In much the same way as the side panels, place the back panel flat down along the one side of the floor panel.
Again, the pan latch should help you orient the entire structure, as the back panel should be placed along the side opposite the pan latch.
Lift the back panel and attach the hooks protruding from the side panels and floor panel into its horizontal wires.
You can now insert the corner rods through either side of the back panel to fasten its loops with the side panels. Finally, lift the panel into an upright position.
Step 7: Attach the Door Panel
Pick up the door panel and place it flat along the front-facing side of the floor panel. Make sure you orient the door panel in a way where the lock on the door faces outwards. Also, the wires that are close together should be facing the floor.
Once again, pick up and place the door panel in a way so that the floor panel’s hooks attach to the second or third horizontal wire. Lift the front panel now until it’s in an upright position.
You can use the other set of your corner rods now and run them through the intersecting loops of the front and side panels on both sides. At this point, the crate should be fully secured.
Step 8: Insert the Floor Pan
Lastly, just lift the pan latch again and insert the pan back into the crate to finish up the assembly process.
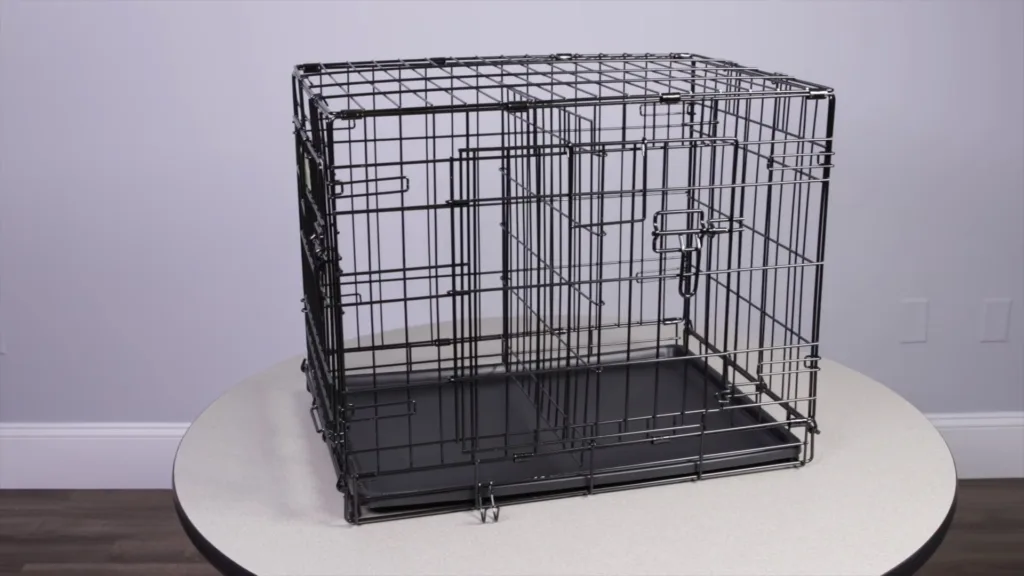
That concludes our guide on how to assemble a dog crate.
FAQs
How to Assemble a 10×10 Dog Kennel
We’re often asked how to put a dog kennel together or assemble a large doggy crate. The answer is pretty simple. Large dog crates typically consist of 5 panels:
- Two side panels
- A floor panel
- A door panel
- A back panel
Each panel contains hooks that lock into the edges of the other panels and corner rods used to secure the entire crate in a better way.
Attach the side panels to the floor panel first. Then, the back panel and the door panel. Now, attach all the hooks.
Lastly, insert the corner rods through the interconnecting loops of each panel to fully assemble your 10×10 dog kennel.
You may need a friend or family member to lift each panel with you, as they are quite large and dense.
Otherwise, following these large dog crate assembly instructions as closely as possible should help you set up your crate in less than 10 minutes.
How to Assemble a Drop Pin Dog Crate
The guide we’ve posted above offers clear drop pin dog crate assembly instructions. Let us summarize them for you here as well.
Each crate contains 5 panels. These include two side panels, a door panel, a floor panel, and a back panel.
All panels come with hooks that fasten to the edges of the other panels and corner rods that are used to fasten the interconnecting loops within each panel.
Lift and place the side panels first on top of the floor panel while also hooking them in place. Do the same with the back and door panels as well.
Finally, insert the corner rods through the loops on each panel to secure the crate fully.
How to Assemble a Collapsible Dog Crate?
Collapsible dog crates are extremely easy to set up as they come partially pre-assembled from the manufacturers. All you have to do is lift one of the sides in a manner similar to opening a book.
You’ll then immediately notice that the front, back, top, and floor panels are already attached to each other.
Once the cage is upright, you can lift one of the side panels placed on top of the floor panel and latch it into place by connecting the hooks to the first horizontal wire of the top panel.
Do the same for the other side panel, and voila, you’ve just learned how to assemble a dog crate.
How Do You Disassemble a Dog Crate?
Disassembling a dog crate can be a bit trickier. Metal wire dog crates come with hooks on the side, rear, and front panels. These hooks are attached to the edges of each panel.
To disassemble, carefully unhook the latches on any one of these panels and fold the panel inward. Follow the same process for all the other panels, and you should be left with 5 separate panels, all on top of each other.
How Do You Fold a Dog Crate?
Collapsible crates can be folded up and transported pretty easily. You just have to unlatch the hooks of the side panels and set them back down flat.
Next, set down either the front or back panel on top of the other panels. You should be able to set the remaining panel down now as well in a motion that’s quite akin to closing a book.
Assembling a Dog Crate: The Essentials
That brings us to the end of our post on how to assemble a dog crate. Before we leave you, however, we should mention that the type of dog crate you buy will determine the assembly process.
For example, the guide above works for drop pin crates only, characterized by their separate panels and corner rods.
You could also opt for a collapsible metal crate that takes less than a minute to assemble because it is partially pre-assembled on arrival.
Also, it is essential that you read and follow the manufacturer’s assembly instructions as closely as possible.
You can rely on this guide as well, but the manufacturer’s instructions could end up being more detailed and precise for obvious reasons.
Nonetheless, if you appreciate guides like this, make sure to check out our other posts for more content related to dog crates. Have a blessed day!

