Building A Dog Kennel – 5 Amazing DIY Dog Kennel Ideas
Do you want to provide your pet doggo with a place where it can sleep, relax, and feel secure? Building a dog kennel is a perfect way to do so!
In this article, we’ll guide you through the steps to construct your own dog kennel.
We’ll also explore five innovative DIY dog kennel ideas that you can try.
So, buckle up your tool belt and get ready to transform your outdoor space into a delightful den for your furry best friend.
Ready? Let’s go!
Table of Contents
Building a Dog Kennel in 5 Easy Steps
Building a dog kennel can seem daunting, but with the right tools and guidance, it can turn into a fun project. Follow these 5 steps to build a DIY dog kennel in no time.
Step 1: Designing the Kennel
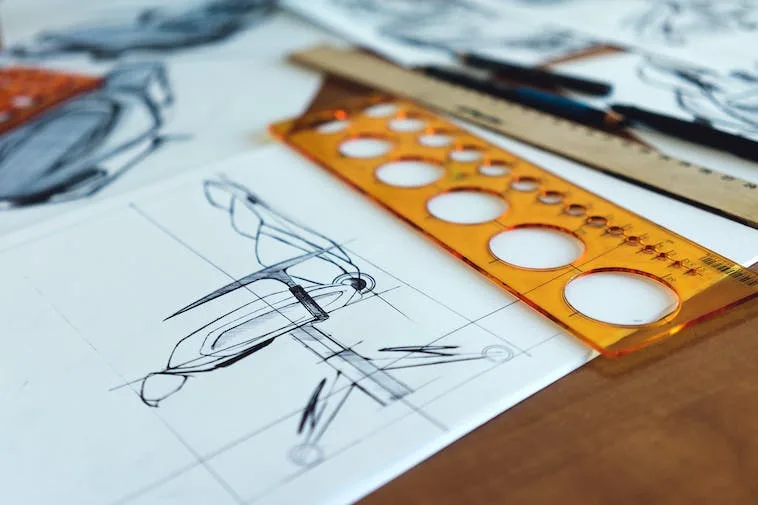
First, design the kennel based on your dog’s size, comfort, and movement needs. Use a sketch or software for planning. Consider your backyard space to determine the kennel’s size and the regional climate for material choice. In cold regions, you may need insulation and heating, while shade and ventilation are necessary for warmer climates.
Step 2: Gathering Your Materials and Tools
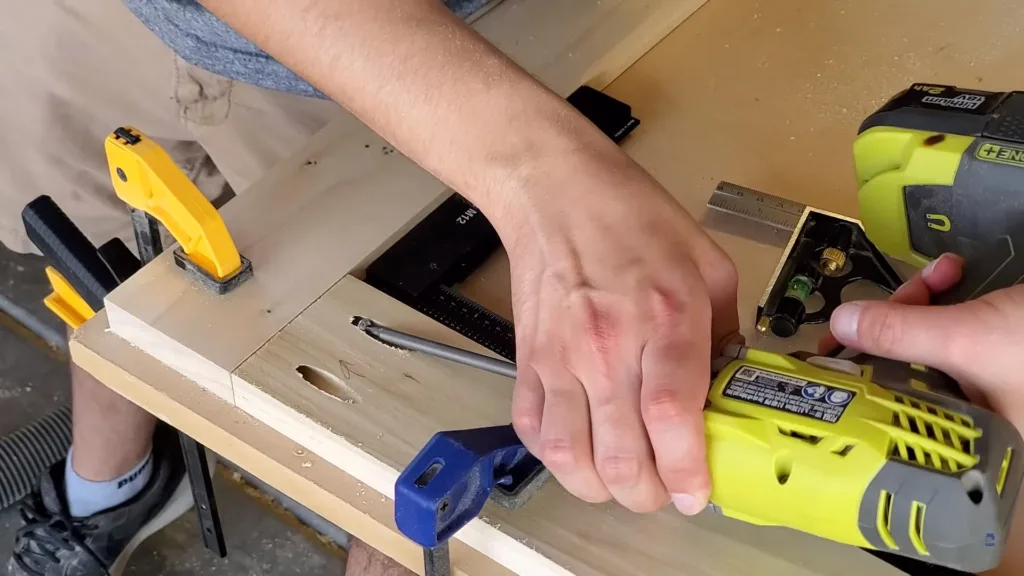
Next, gather the materials and tools required. These may include:
- 2x4s, which are commonly used pieces of lumber that measure approximately 1.5 by 3.5 inches for framing
- Plywood for walls and roof
- Nails or screws
- Hammer
- Saw
- Measuring tape
Make sure to buy extra materials in case of errors during construction.
Step 3: Laying the Foundation
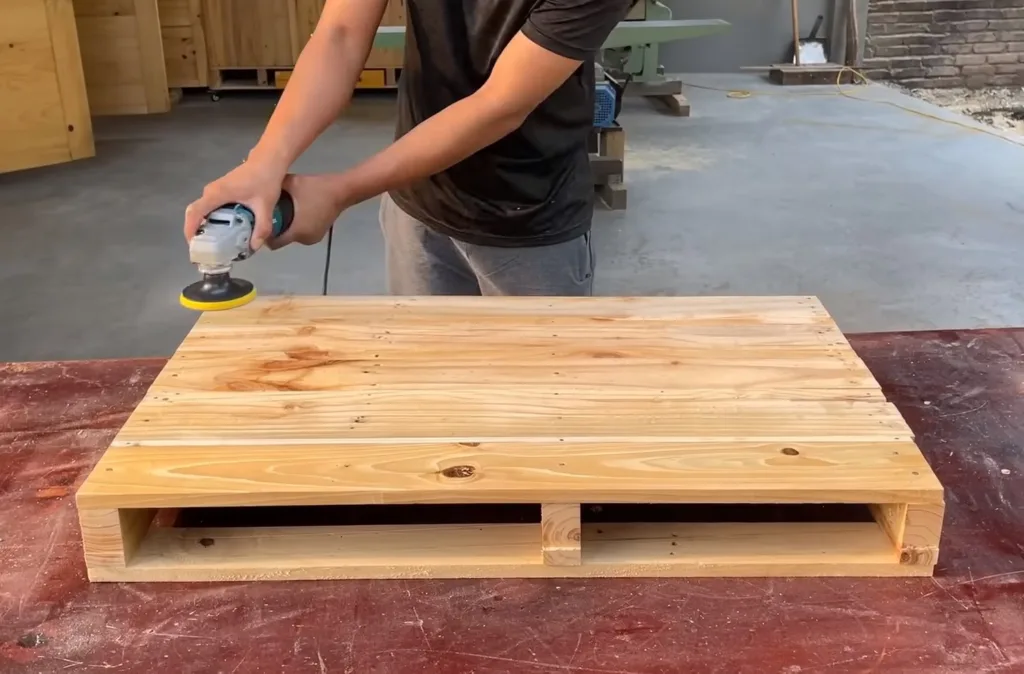
Start by marking the area (hammer wood stakes into the ground) where the kennel will be built. Clear the area of any debris and level the ground. Then, lay down a floor frame using wood, ensuring it’s sturdy. For a more permanent structure, you can lay a concrete slab, too. This will serve as the foundation of the kennel.
Step 4: Constructing the Frame
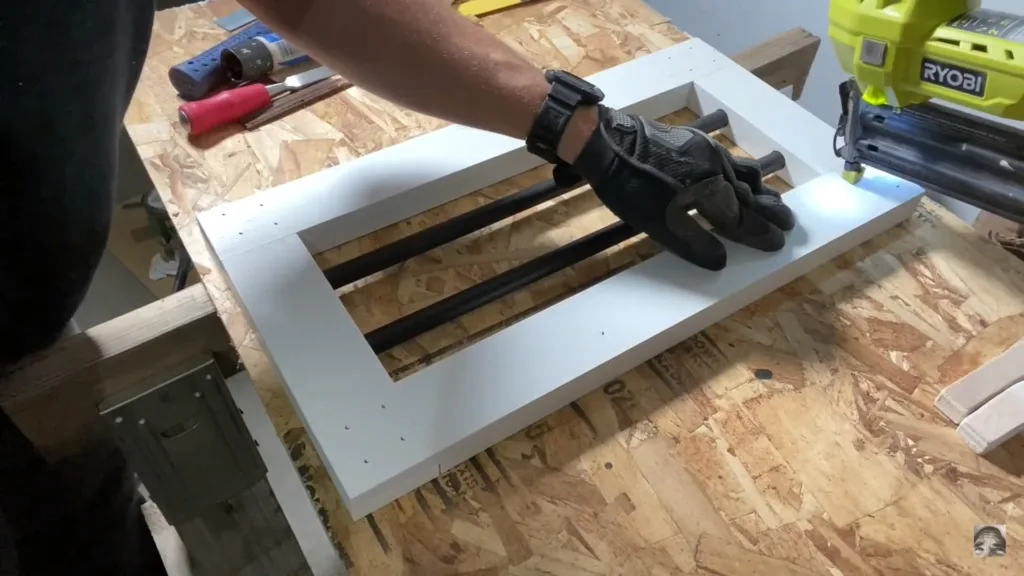
Now, construct the frame of the kennel using 2x4s based on your design. Ensure the corners are square and the frame is strong enough to support the walls and roof. Remember to leave a space for the door for easy access.
Step 5: Adding Roof and Walls
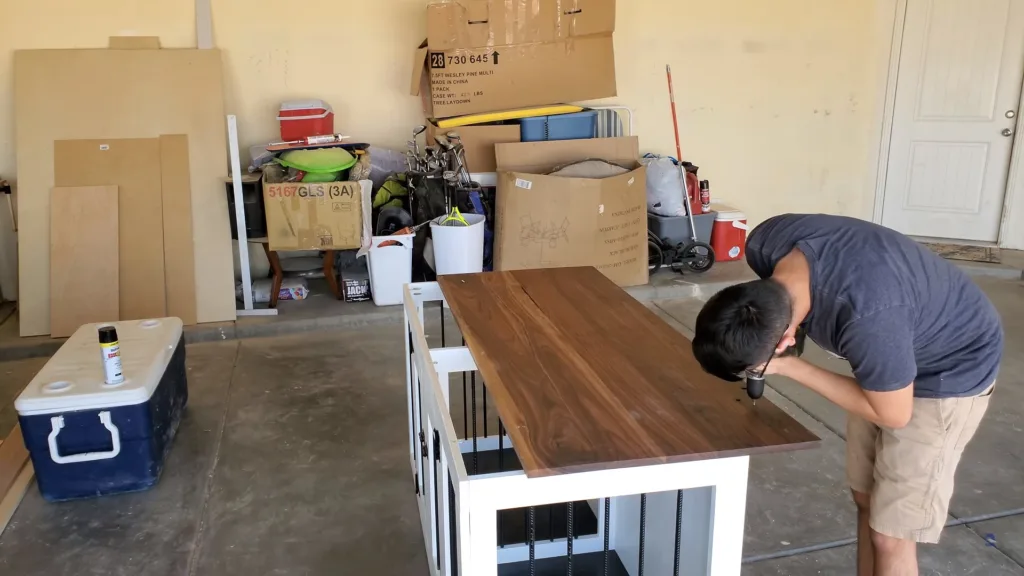
Finally, attach plywood to the frame to form the walls and roof. Ensure they are securely fixed and weatherproof. For the roof, ensure it has a slight slope to allow rainwater runoff. You can choose to add insulation to the walls and roof for extra warmth during colder months. Remember to paint or varnish the kennel to protect it from the elements.
Congratulations! You’ve completed the main structure of your DIY dog kennel. Don’t forget to add bedding, toys, and water bowls to make it a welcoming space for your dog.
5 Amazing DIY Dog Kennel Ideas
Now that we’ve discussed the basic steps to build a dog kennel, let’s explore some unique and creative ideas for your DIY project.
The Pallet Kennel
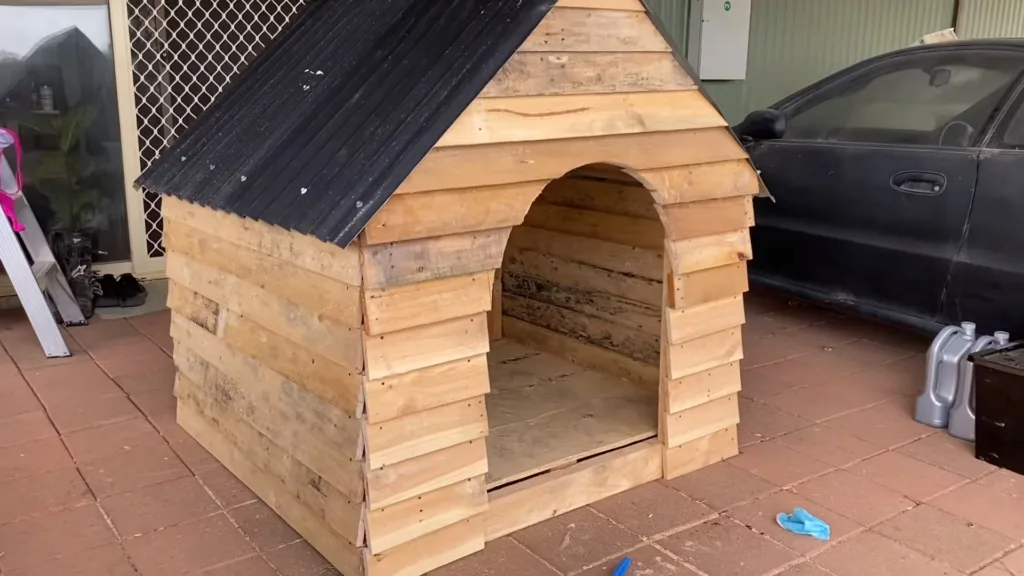
If you have some spare pallets lying around, why not repurpose them into a stylish kennel? You can create a simple yet functional kennel by connecting pallets together with screws or nails. Add a coat of paint and some soft cushions, and voila! Your dog will have a cozy haven to call its own.
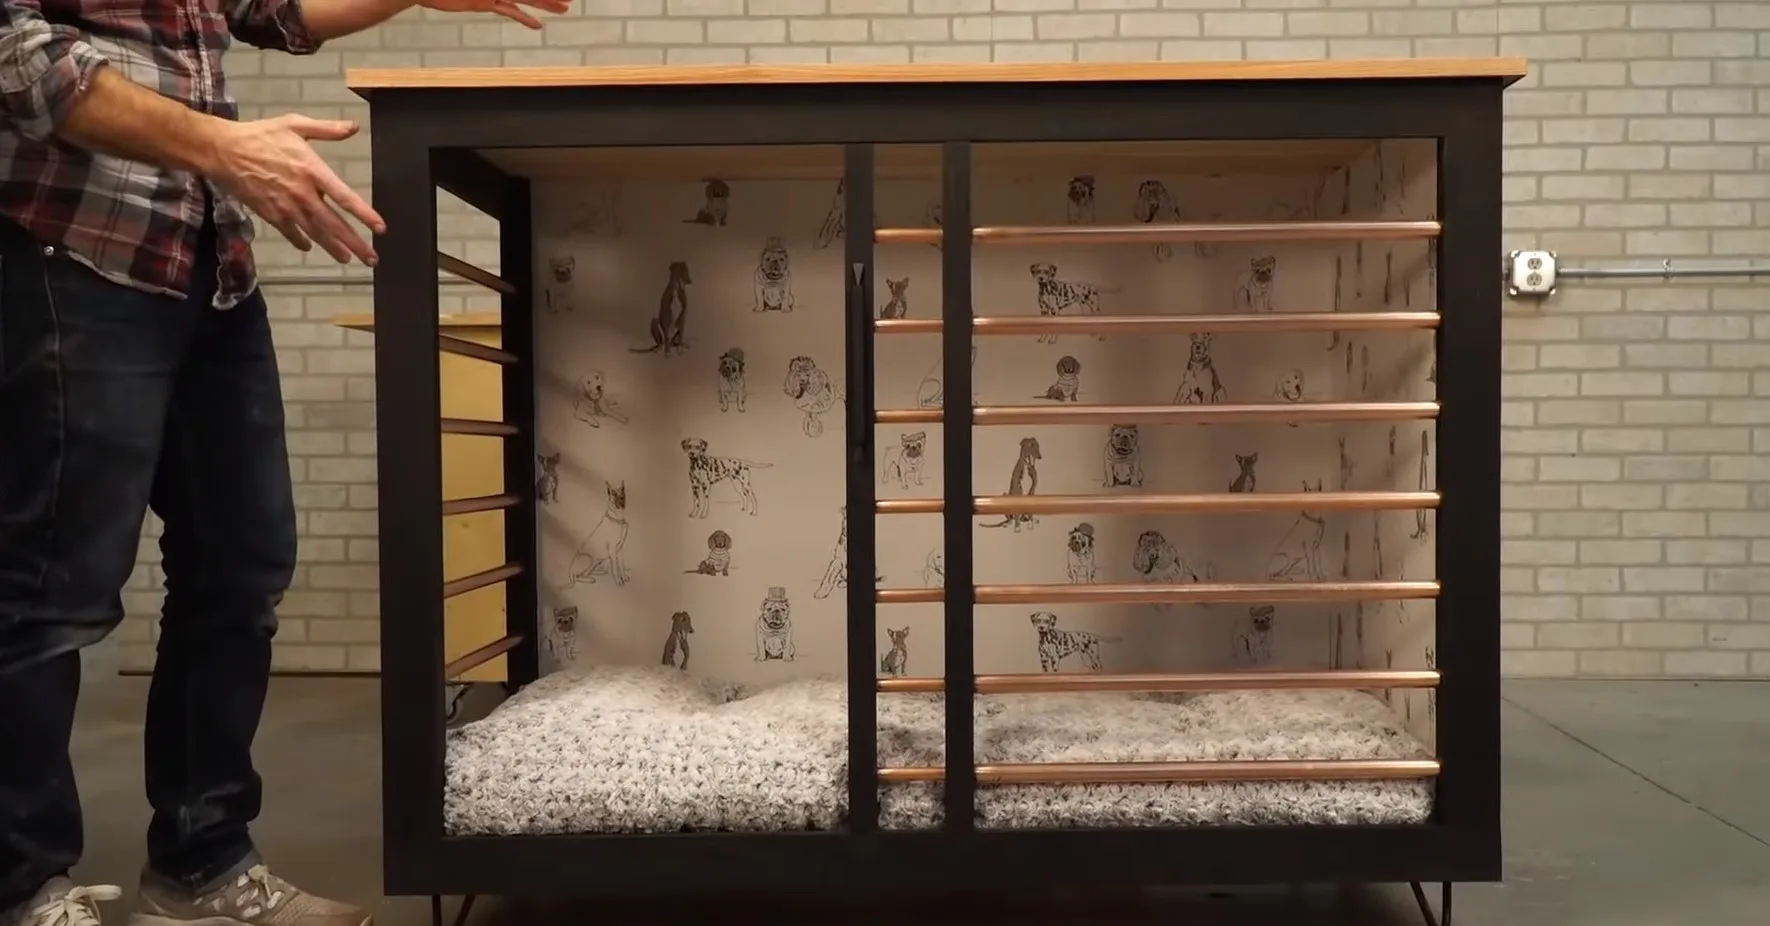
The Upcycled Kennel
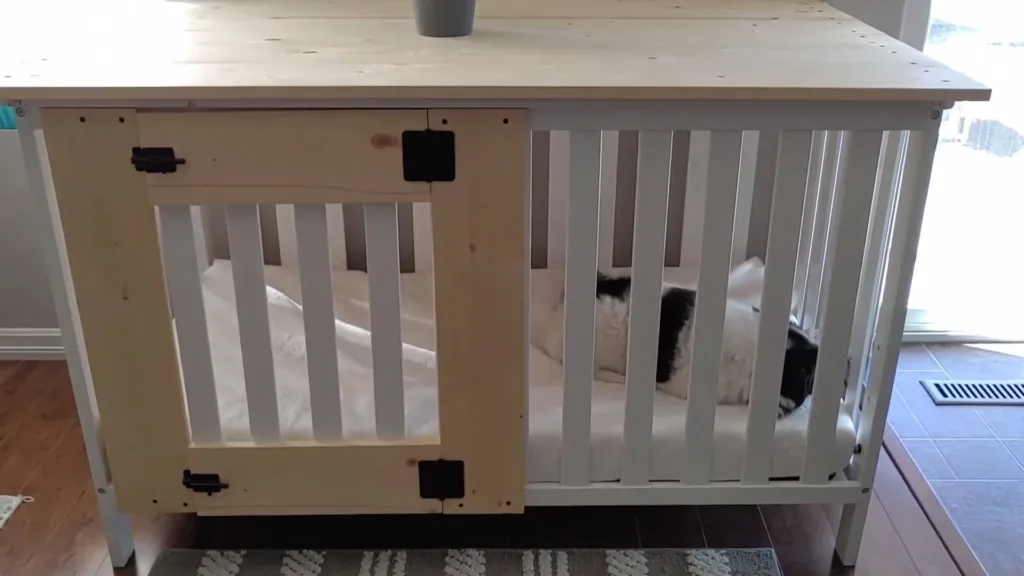
Another environmentally-friendly option is to upcycle old furniture into a dog kennel. An old dresser or cabinet can be transformed into a multi-level kennel with space for your dog’s bed on one level, and storage for its toys and treats on the other. You can add a door or leave it open for easy access.
The Green Roof Kennel
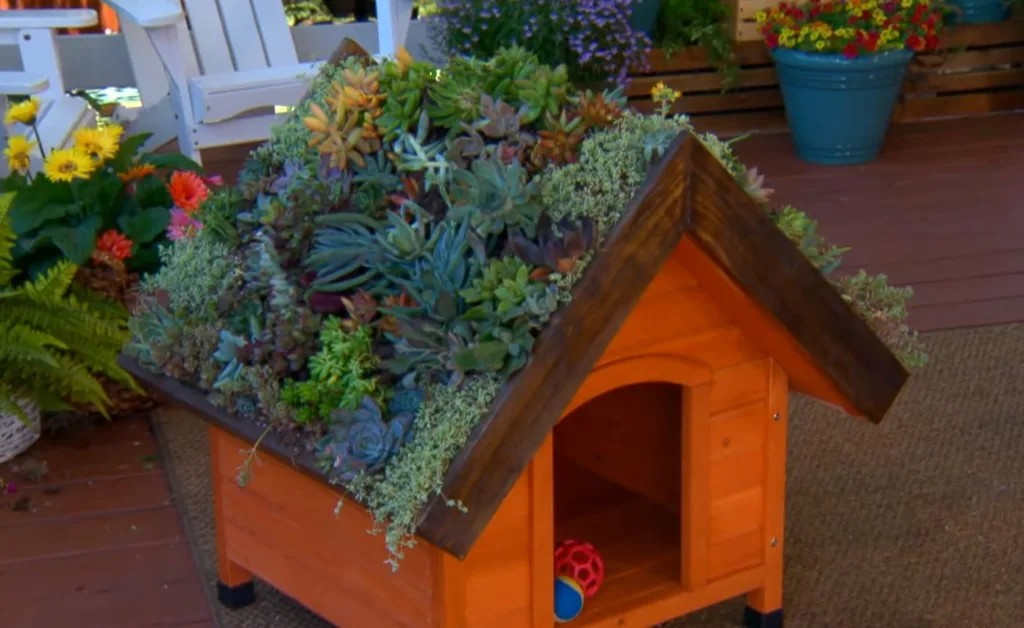
If you want to give your dog a touch of nature, consider adding a green roof to their kennel. This not only provides insulation but also creates a beautiful mini-garden on top of the structure. You can use a variety of plants or even artificial turf for a low-maintenance option.
Ranch-style Kennel
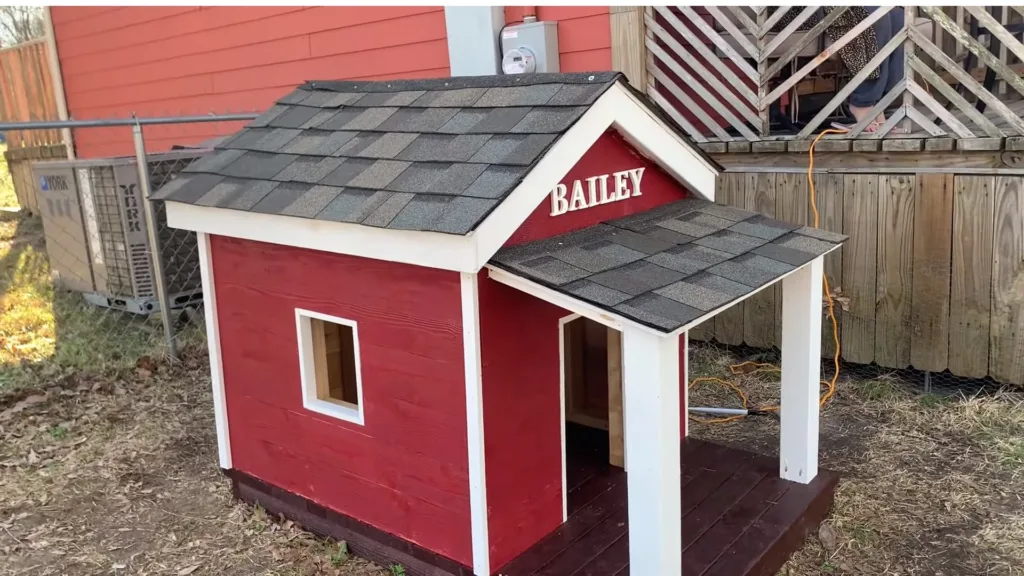
For a more rustic and charming look, try building a ranch-style dog kennel. You can use logs or weathered wood to create a cozy cabin-like structure for your dog. Add some animal-themed decor like horseshoes or cowhide rugs to complete the look.
The Doggie Duplex
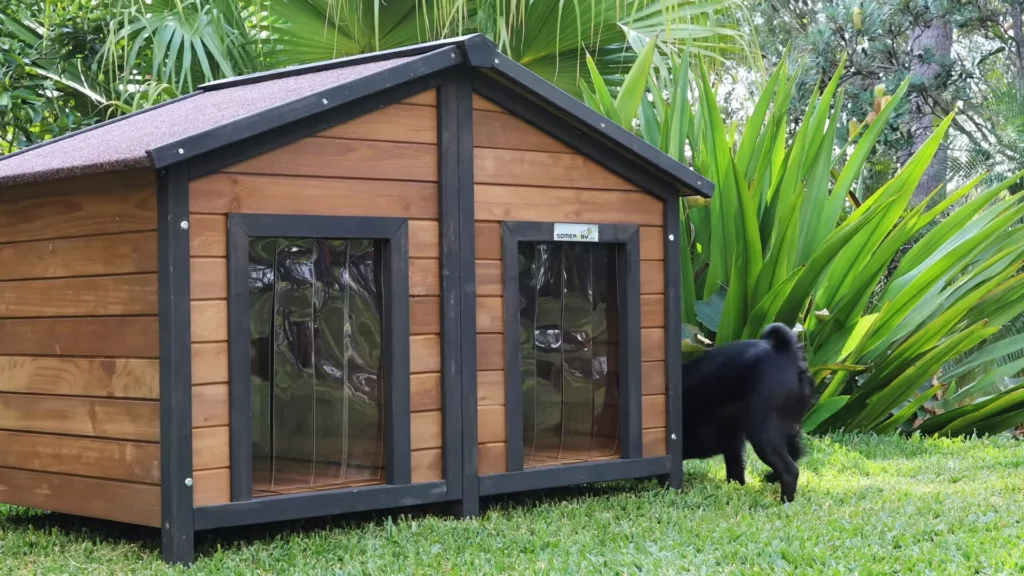
If you have more than one furry friend, consider building a duplex kennel with separate living spaces for each dog. This not only saves space but also gives each dog their own private area. You can even add a shared play area in the middle for them to socialize and have fun together.
Maintenance and Upkeep for Your DIY Dog Kennel
Maintaining and taking care of your DIY dog kennel outdoor is important to extend its life. Here are some tips to help you keep your outdoor DIY dog kennel in good condition:
- Regular Cleaning: Frequent washing and sweeping of your DIY dog kennel will not only keep it fresh but also help prevent the building of bacteria and pests.
- Weatherproofing: If you’ve been building a dog kennel outside, ensure it stays properly weatherproof. Repainting the kennel and new sealant application can help you do this.
- Regular Inspection: Look out for loose nails, rotting wood, or any damages that can be a hazard to your pet dog and timely fix them.
- Comfort and Care: Regularly replace bedding. Make sure there’s adequate shade during hot weather and enough warmth during colder months.
- Updating Design: Don’t be afraid to change up the design or add enhancements to your DIY dog kennel. There are numerous DIY dog kennel ideas you can incorporate, such as adding a new toy or accessory, or expanding the kennel to give your dog more space.
Winding Up!
With this guide, you’re now prepared to embark on the journey of building a dog kennel. It’s essential to plan thoroughly, assemble the required materials, avoid common mistakes, and proceed patiently with the construction process.
By following these steps and ensuring proper maintenance of your dog kennel, you’ll provide a delightful abode for your furry friend that lasts for years.
Enjoy your kennel-building adventure!
For more DIY kennel projects, explore our other posts.





2 Comments